
How to calibrate a TTArtisan 28mm f5.6 Lens for Leica M
camerasDuring last month's trip to Germany, something about my beloved Voigtländer Nokton 35mm f1.4 Classic MC II lens didn't feel right. For whatever reason the front element started wiggling where it shouldn't, and a few days later the aperture ring became looser and looser.
Here's what it looked like :
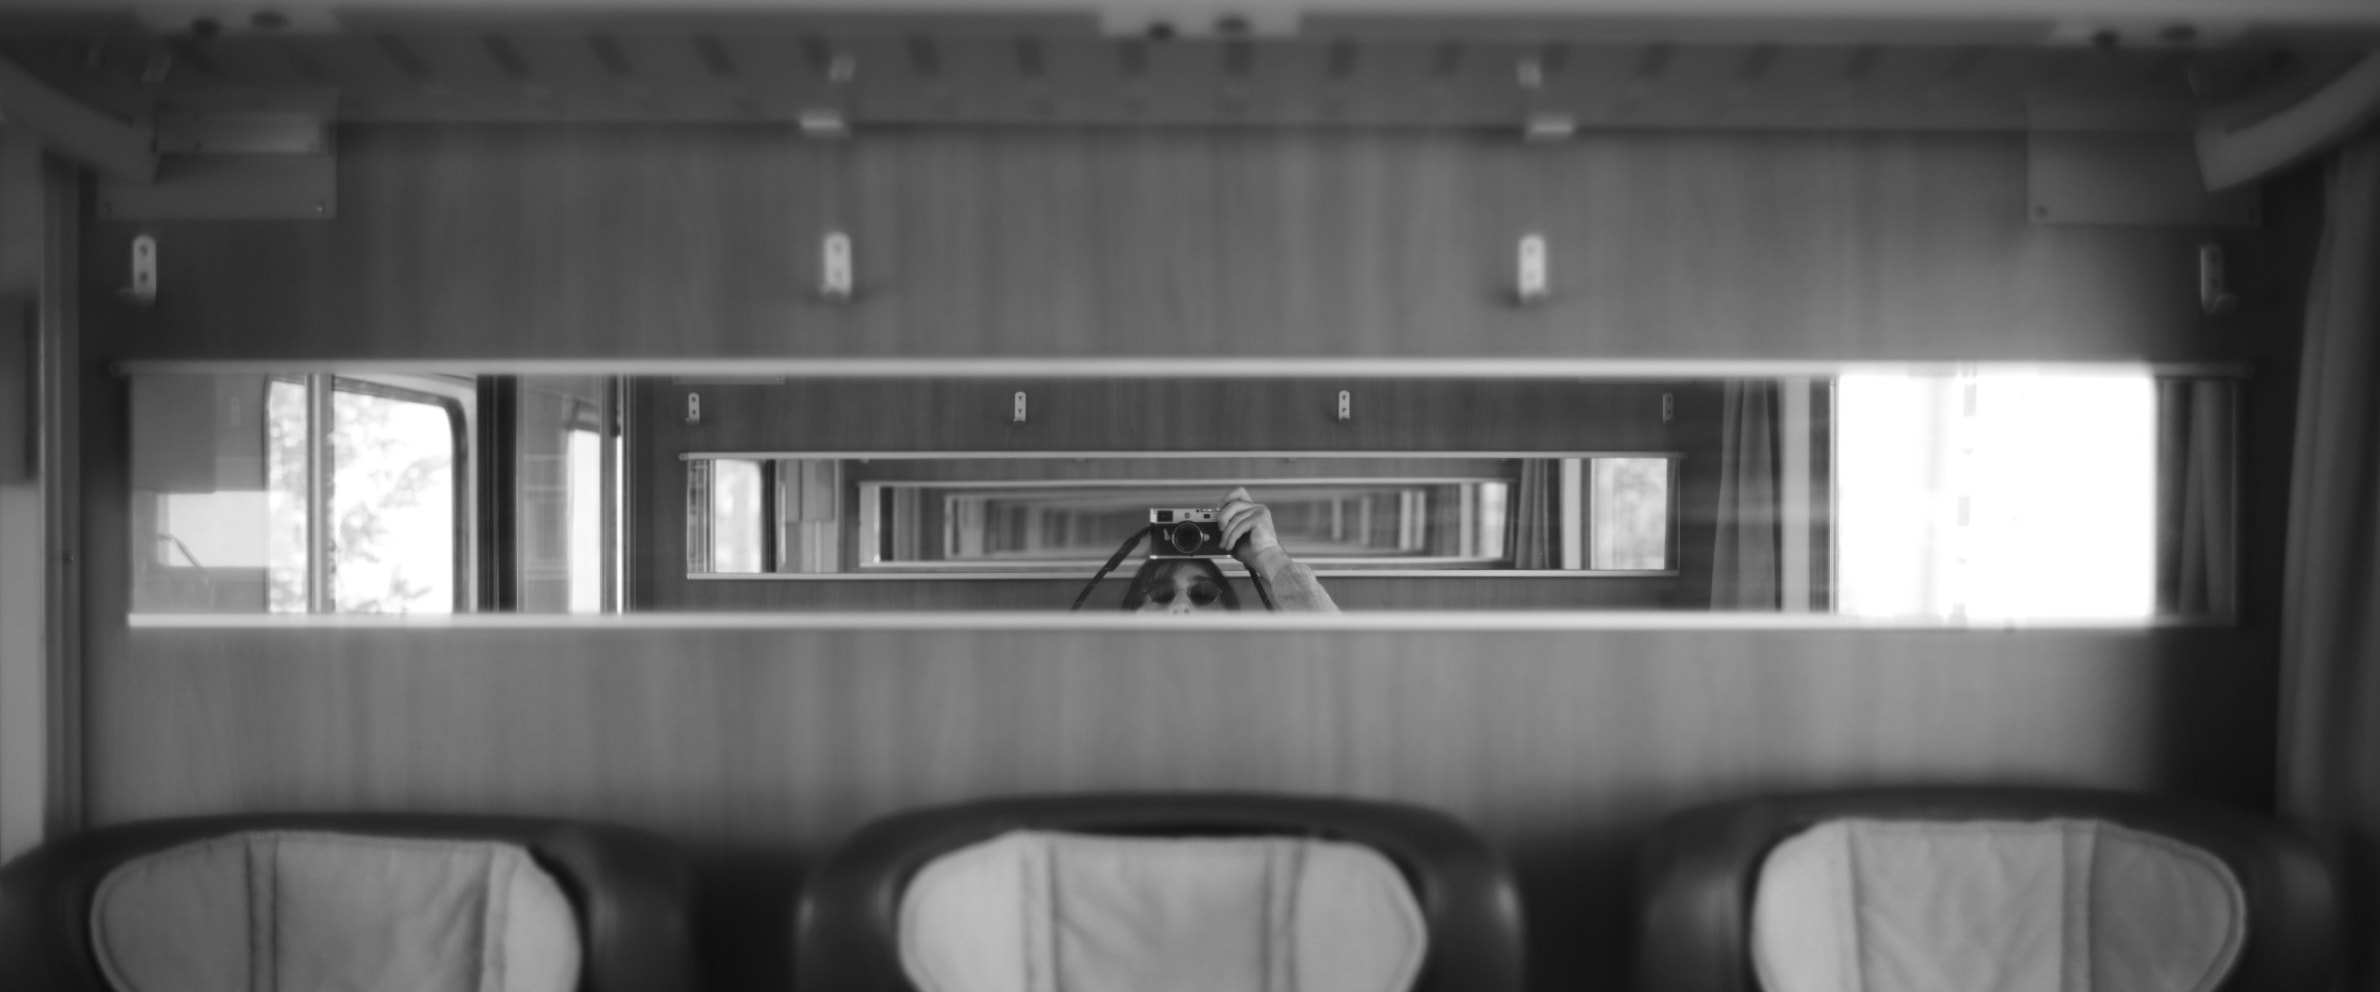
Thankfully I got to capture great photos during the trip before things got worse. Here's a photo of me and my beloved Voigtländer & Leica M11 on Deutsche Bahn, taken while passing time during that trip.
Now I'm a nerd, and I often dare to fix many things myself. But when it comes to optical things, every tiny fraction of a millimeter counts, and I simply don't have to right tools, courage nor time to attempt a fix like this. So I had to send the lens away for repair. Which may take months in Europe apparently, as there aren't many lens repair technicians, and they have a backlog. (Note to self : if AI takes over some day, start working as a lens repair technician + it's great for the environment)
In the interest of not spending the busy upcoming summer months (during which I'll have to work a lot) without a functional camera, I decided to buy a cheap* substitute lens for the Leica M. — Something simple and cheap that would allow me to continue to work basically.
I saw Karin Majoka's video about the TTArtisan 28mm f5.6 Lens for Leica M :
And by some sheer luck I found a used one for €299 on Jo Geier's incredible online shop, minutes later, so I had to buy it.
Now you'll see in Karin's video that for whatever reason TTArtisan ships these lenses without calibration. So essentially your rangefinder focus doesn't match the actual image's focus. As the user you're expected to calibrate your own lens using a tiny screwdriver. screw that.
Since I bought a second hand lens, I had high hopes that mine would already be somewhat calibrated by the previous owner. But nope. I was not that lucky.
Anyhow, after trying to follow what appeared to be a poorly translated manual that came with the lens, I got an okay understanding of what needed to be done, so I decided to improvise a little bit to make things easier for myself. (And also took notes to write this blog post)
The Calibration Process
Using the following technique I could calibrate the lens in <10mins with nothing but a 5 meter retractable ruler and the focus target paper that came with the lens.

Place the camera on a tripod, and place the target somewhere on the floor exactly 2 meters away from your lens. Using your ruler, measure 2 meters literally from the tip of your lens to the focus target on the floor. Every centimeter counts.

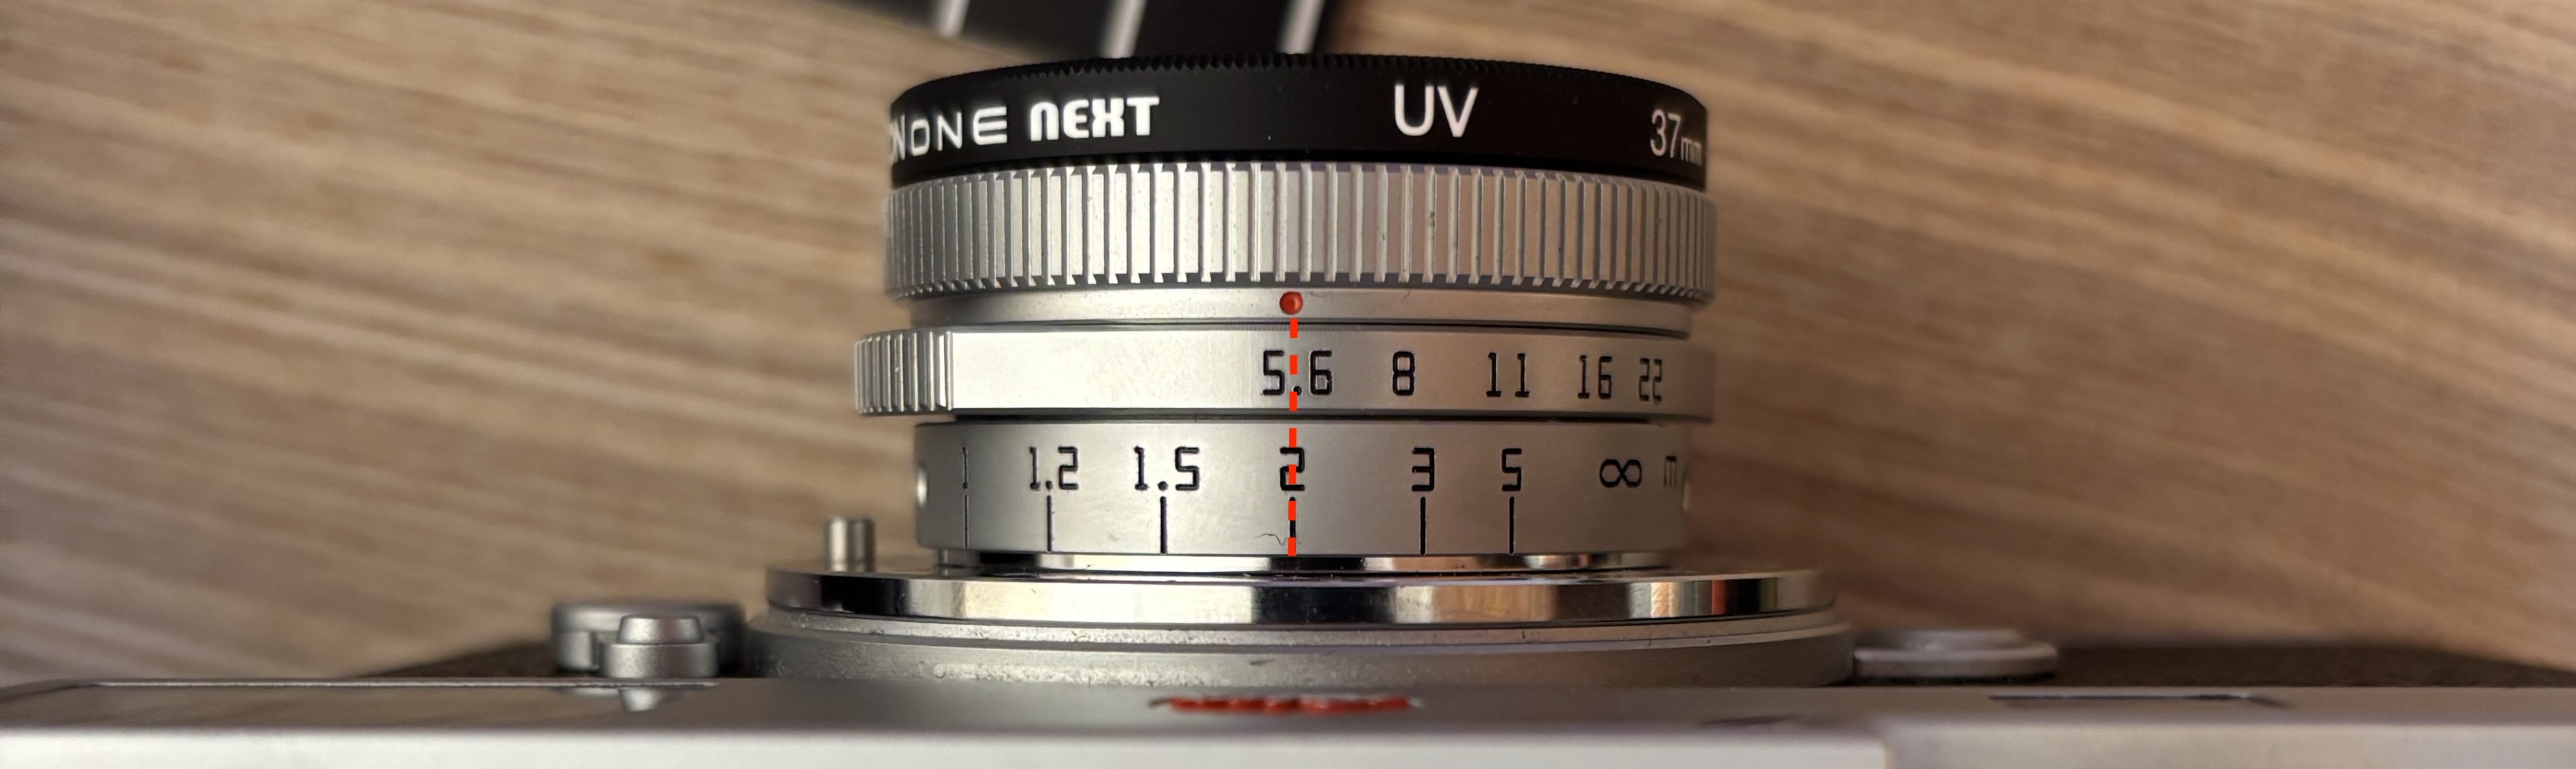
Set the lens to 2 meters, so that on the lens, you see the 2 meters point line up with the red dot.
Look through the rangefinder to the focus target paper. Do you see it align / focus perfectly in the rangefinder? If you do, you can close this page, your lens is already calibrated.
If it's not aligned, here's what you'll need to do :
First, make yourself a cup of tea, this will take 5-10 minutes, and get yourself in a chill, patient and atmospheric mood with this ECM Atmospheres playlist. The playlist will sound amazing and the following sentence will sound scary, but I promise there's nothing to be scared of.
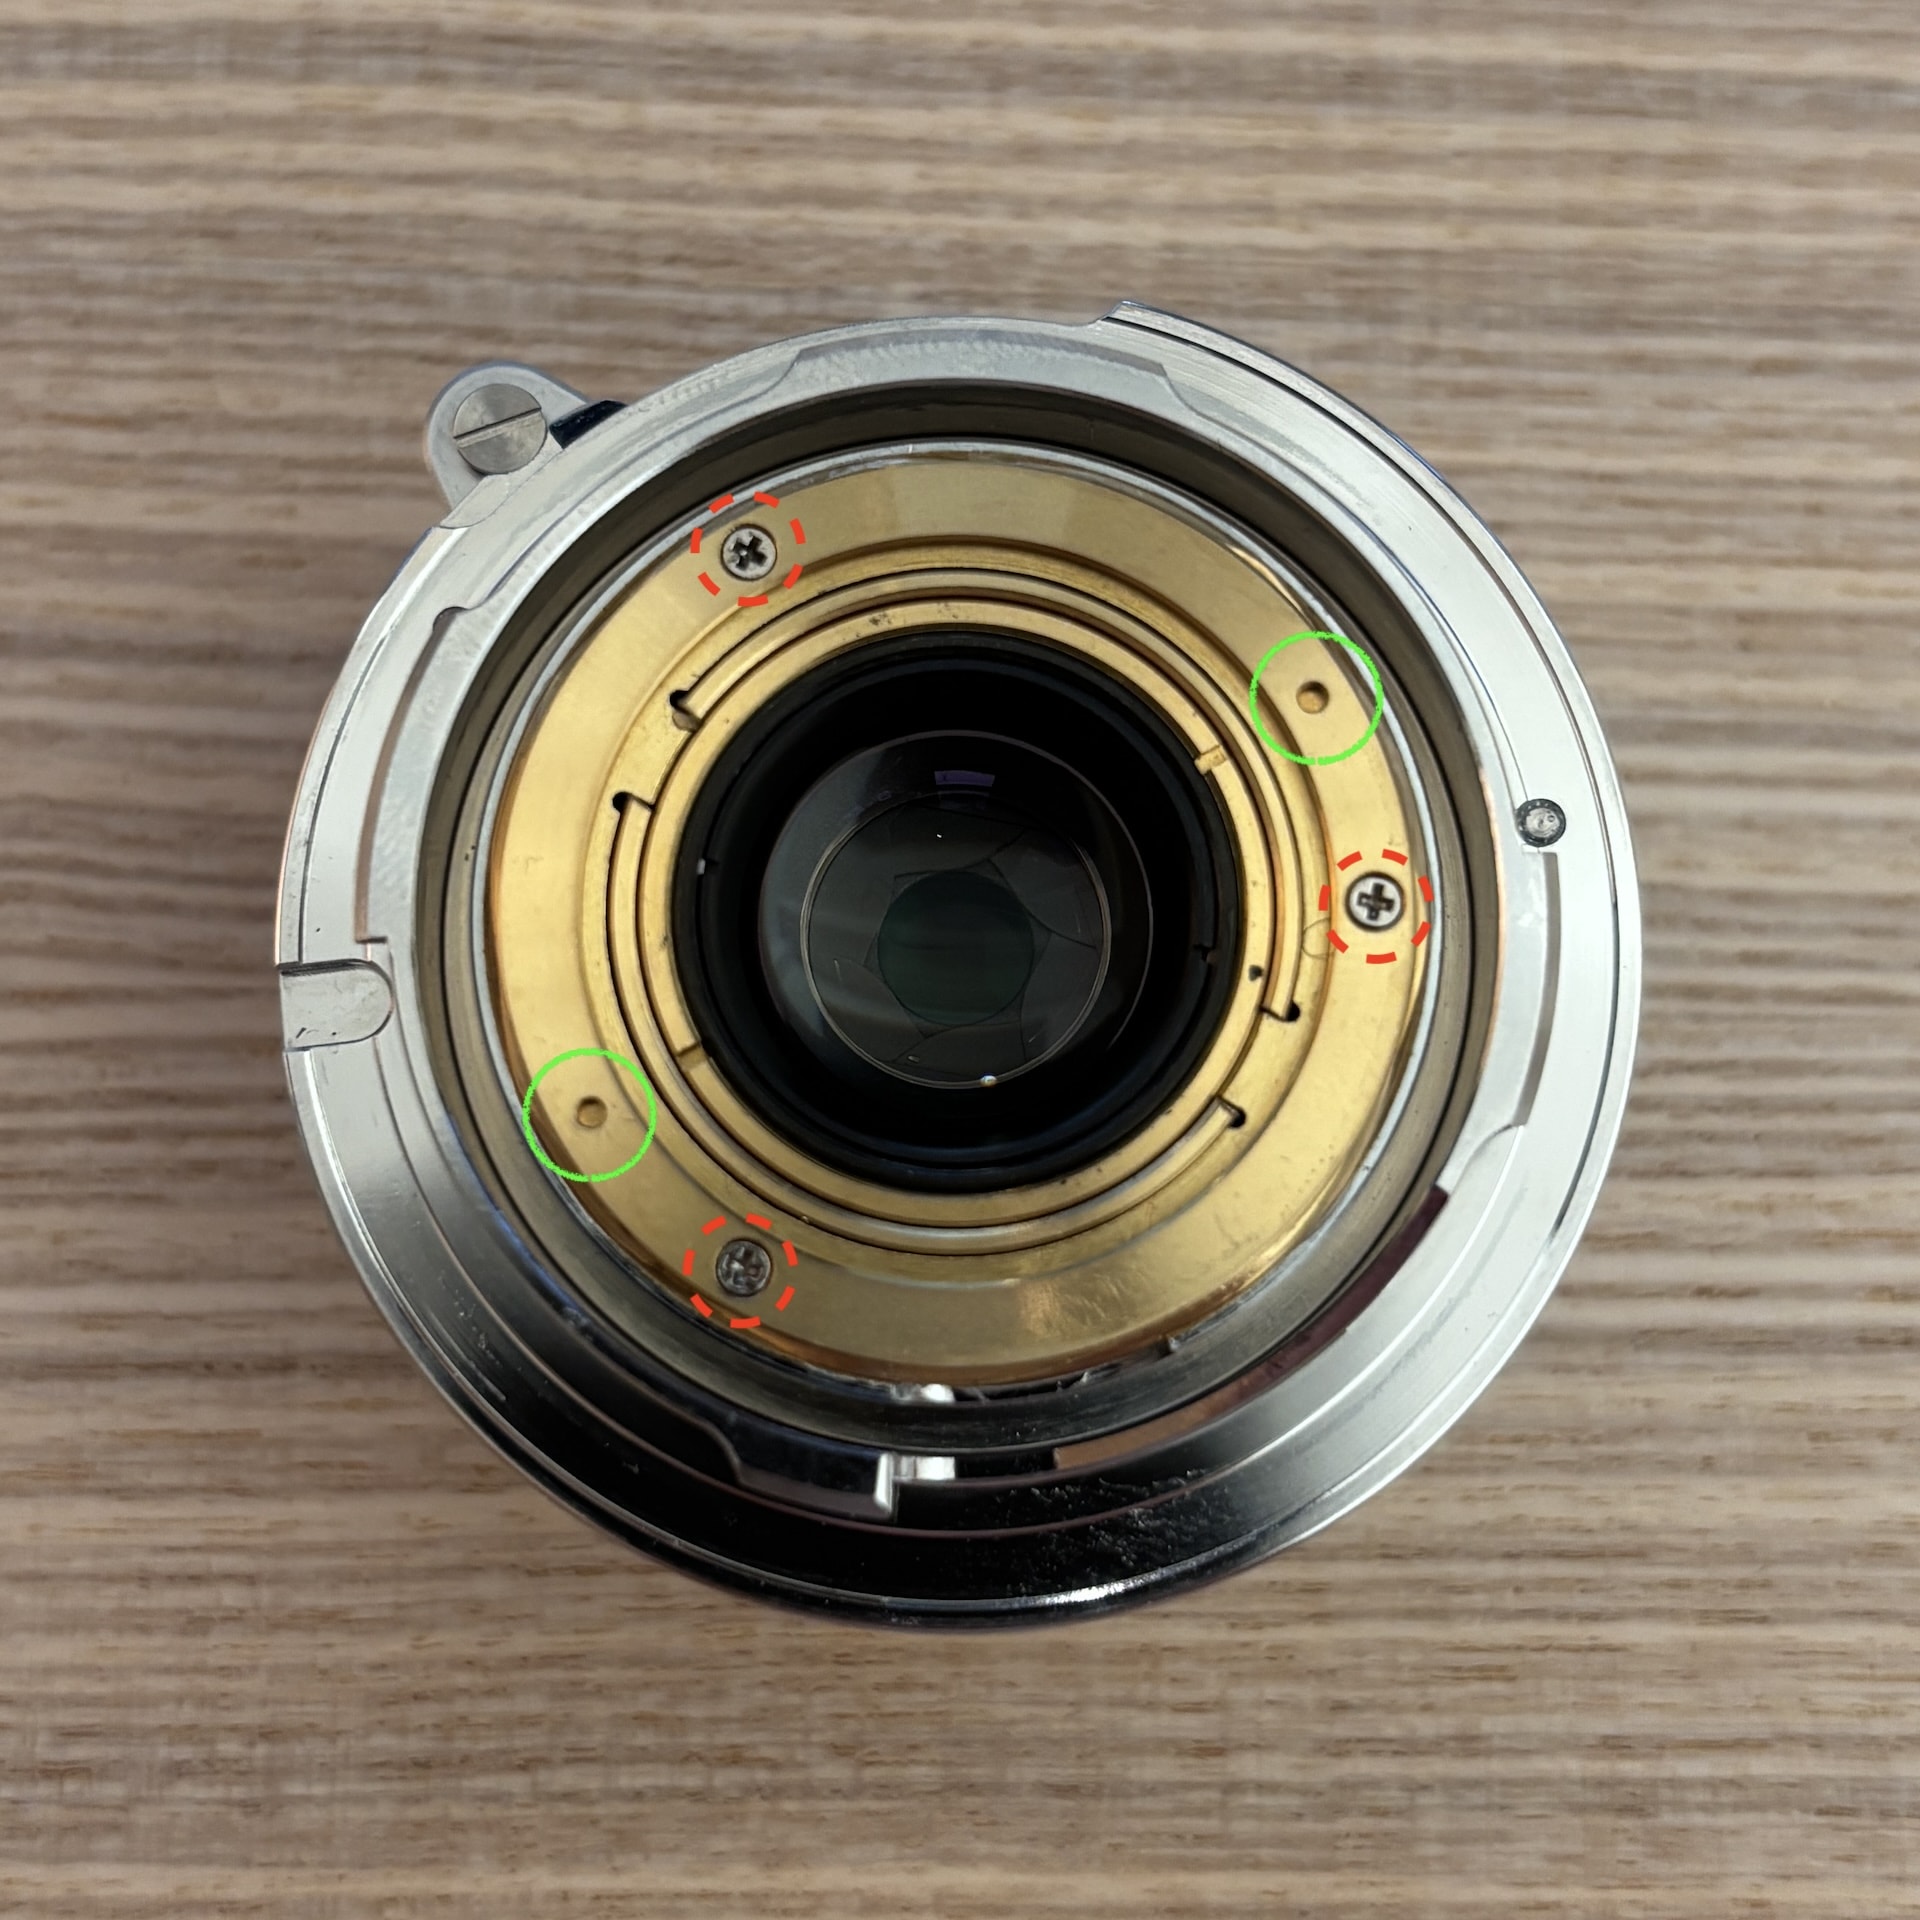
- Unscrew these three tiny screws in the lens.
(You don't need to remove them, just gently unscrew them until they're loose enough and leave them in place) - If your focus was off to the right, you'll spin this disc clockwise using the tiny hole. If your focus was off to the left, you'll spin this disc counter-clockwise.
(If it doesn't spin easily, unscrew and loosen the screws a bit more, it should be super easy to spin it.) - Tighten the screws.
- Mount the lens back onto the camera, check through the rangefinder.
Is the focus off? Remove the lens, go back to step 1 and repeat this process until your focus @ 2 meters looks correct.
The tutorial paper comes with some useless information like "5mm to the right or left" etc. Realistically no sane human can measure just how many millimeters an image is off in their rangefinder, nor can they measure for how many millimeters they need to spin a disc.
The tutorial paper also comes with some useless diagram. If you follow my instructions and sketch above you should be good to go in 5 minutes.
Once your focus at 2 meters look correct in the rangefinder, you're pretty much set, and your lens should be calibrated.
I am kind of a perfectionist, and I wanted to make sure everything is indeed 100% correct. If you're like me, chances are you own a Leica, you'll want to check the focus at 3 meters and 5 meters as well.
Place the target at 3 meters from the lens, set the lens to 3 meters, see if it's good. And do the same for 5 meters. Chances are, if there are no factory / manufacturing issues / damage to the lens etc, it will be good.
If it's good at 2 meters, but ever so slightly off by a millimeter at 3 or 5 meters this is probably within factory tolerance levels, and your sharpness likely won't be affected with an f5.6 lens. But if this bothers you because you shoot photos primarily at 5 meters distance or more (e.g. architecture) then you can instead calibrate your lens to be more accurate at 5 meters or infinity using the steps above. That way it may be off by a millimeter @ 2 meters distance, but it would be perfect @ 5 meters distance (or infinity etc).
I lost a few hours googling and watching youtube videos trying to understand how to do this, and decided that I should write a detailed blog post to save everyone some time.
If this blog post helped you out, go follow Karin Majoka's amazing youtube channel. She's awesome, her videos are awesome, and this blog post wouldn't be possible without her help and pointers.
Until next time
— John